Seasonal Home Care
How to Inspect Your Roof After a Winter Storm Without Climbing on It
Learn how to inspect your roof after a winter storm from the ground and indoors, spot warning signs of damage, document concerns, and know when to call a roofing professional.
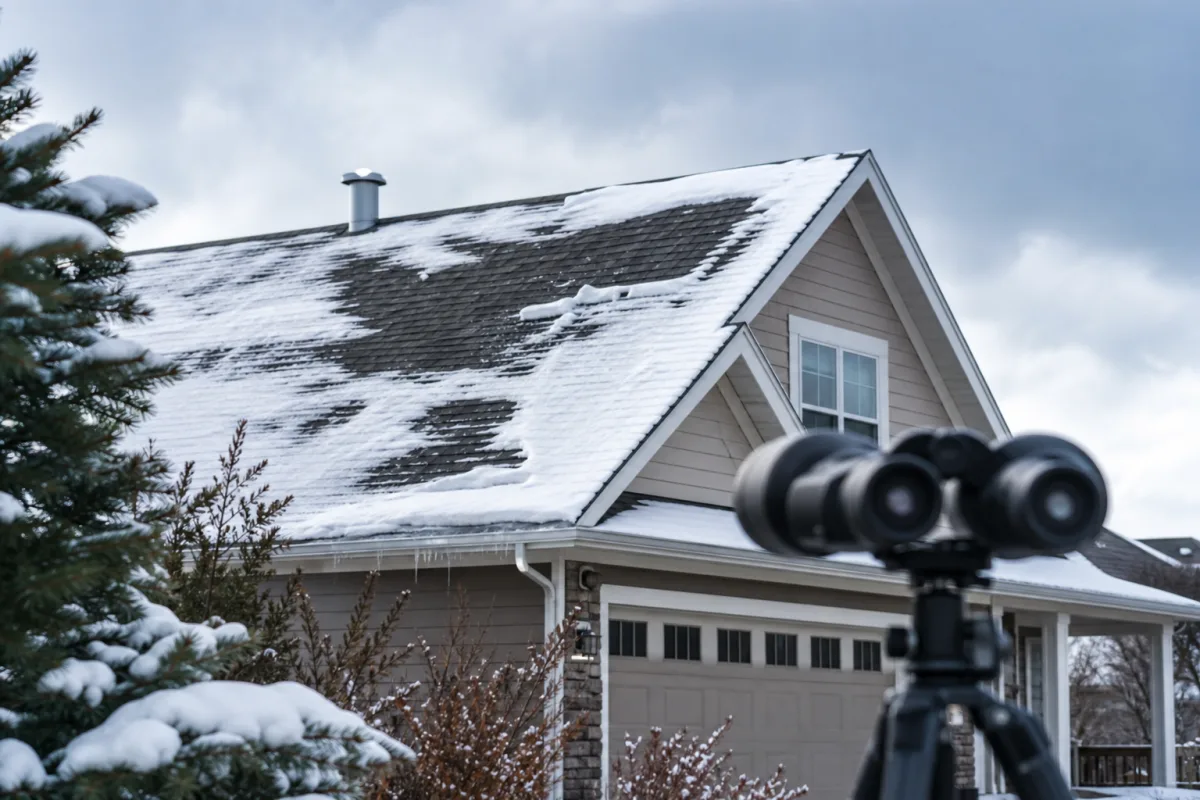
A winter storm can leave behind snow, ice, wind damage, and fallen debris that are not always obvious from the ground. The safest approach is to avoid climbing onto the roof and instead perform a careful visual check outdoors and inside your home.
When you inspect your roof after a winter storm, focus on changes that could signal water entry, displaced materials, or structural concerns. Take photos and notes, keep your distance from hazards, and arrange a professional assessment when damage looks unsafe or unclear.
Wait for Safe Conditions Before You Inspect
Begin only after the storm has passed and the area around your home is safe for a walk-around. High winds, lightning, icy paths, falling ice, and unstable branches can make even a ground-level inspection dangerous.
Do not climb on the roof or use a ladder to get a closer look. A roof may be slick, weakened, or concealed by snow and ice even when it appears intact.
Keep clear and seek immediate help if you notice:
- A downed power line or damaged electrical equipment
- Active structural collapse or a severely sagging roof area
- A tree or large limb threatening the house
- A large opening that exposes the interior to weather
- Water leaking near electrical panels, outlets, or fixtures
Keep people and pets away from downed lines and standing water near electrical equipment. For an immediate danger, call 911 or your local emergency number. Report suspected utility-line damage to the utility company and follow local instructions. Never touch a line or anything in contact with one.
Start With a Ground-Level Walk-Around
Walk around the property perimeter from a safe distance. View each visible roof slope from more than one angle, since low winter light, snow cover, and shadows can hide damage from a single position.
Binoculars or a phone camera with zoom can help you see details without using a ladder. Do not stand beneath loose gutters, hanging limbs, or areas where ice could fall.
Look for visible changes in the roof covering and its edges, including:
- Missing, lifted, cracked, curled, or displaced shingles
- Exposed wood or roof decking
- A roofline that appears uneven or sagging
- Loose, tilted, or damaged roof vents
- Bent, detached, clogged, or ice-weighed gutters
- Downspouts that have pulled away from the house
- Visible damage around flashing or roof penetrations
Snow can conceal roofing damage. If snow remains on the roof, note what you can see from the edges and from inside the home, then recheck after it melts and conditions are safe.
Check for Storm Debris and Signs of Impact
Branches, limbs, and windblown debris can damage shingles, gutters, vents, skylights, and chimney components. Look for debris resting on the roof, caught in gutters, or lodged against nearby structures.
From the ground, observe whether a branch appears to have shifted roofing material, crushed a vent, cracked a skylight, or bent a gutter. Do not pull on debris resting on the roof, in the gutters, or connected to overhead branches.
Only remove debris that is clearly small, fully on the ground, away from utilities, and not touching a damaged part of the house. Leave roof debris, overhead limbs, large branches, and anything near a power line to a qualified tree service, roofing professional, or utility response.
Before cleanup, take clear photos of the debris and affected area. Photograph from several angles when possible, including wider shots that show where the concern is located on the house.
Inspect the Attic and Upper Interior Spaces
An indoor check is one of the most useful ways to inspect your roof after a winter storm. Roof damage is not always visible from outside, especially when snow or ice remains in place.
Use a flashlight in the attic or another upper interior space. Use only an existing attic walkway or platform. If there is no clearly safe walking surface, inspect from the hatch or call a professional. Do not step on insulation, drywall, or exposed framing unless you know it is a designated walkway.
What to Look For in the Attic
Watch for fresh signs of moisture or openings, such as:
- Drips, wet wood, or damp insulation
- New water stains on rafters, sheathing, or framing
- Frost or unusual condensation on interior roof surfaces
- A musty odor
- Daylight visible through the roof structure where it should not be
Some daylight may be visible at intentional attic vents, so do not assume every opening is roof damage. However, new or unexplained light, moisture, or staining deserves closer attention.
Check Ceilings and Upper Rooms
Inspect top-floor ceilings and walls, especially near exterior walls, chimneys, skylights, vents, and dormers. Look for discoloration, damp spots, bubbling or peeling paint, soft-looking drywall, or active drips.
A water stain may appear some distance from the roof entry point because water can move along building materials before reaching the ceiling. Take a photo, note the location, and watch whether the spot changes during the next thaw or rain.
Look Closely at Vulnerable Roof Features
Roof features that interrupt the roof surface or collect runoff deserve extra attention after a storm. From the ground, look closely at chimneys, skylights, roof vents, dormers, valleys, eaves, and roof-to-wall transitions.
Watch for loose materials, visible gaps, shifted flashing, or debris buildup. You may not be able to confirm the cause from the ground, but visible changes can help a professional focus the assessment.
Check the chimney exterior for loose components, cracked masonry, or a damaged chimney cap that can be seen safely. Also look along soffits, fascia, and eaves for gaps, staining, loose sections, or signs of ice buildup near the roof edge.
After temperatures rise enough for snow and ice to melt, observe the gutters and downspouts. Water should flow through the system and discharge away from the foundation. Overflowing gutters, detached downspouts, or water pooling near the house may point to a blockage, ice damage, or drainage issue.
Separate Urgent Problems From Issues to Monitor
Not every storm-related change requires the same response. The key is recognizing when to seek prompt professional help rather than waiting to see whether a concern develops.
| What you notice | Recommended next step |
|---|---|
| Active indoor leak, visible roof hole, major sagging, or detached material | Contact a qualified roofing professional promptly. Avoid the affected area if it appears unstable. |
| Downed line, suspected utility damage, or water near energized electrical equipment | Keep everyone away. Call 911 or your local emergency number for immediate danger, and report line damage to the utility company. |
| Fallen limb resting on the roof or a damaged skylight, vent, or chimney | Document it and arrange professional evaluation or safe debris removal. |
| Minor new stain, uncertain shingle change, or a small amount of debris on the ground | Photograph it, monitor it during the next rain or thaw, and schedule an assessment if it worsens or remains concerning. |
Do not attempt temporary roof repairs from a ladder or roof surface. A roofing professional can determine whether emergency covering or repair is needed and complete it safely.
Do not assume a roof is undamaged simply because no shingles are missing. Wind can loosen materials without removing them, and small openings can allow moisture into the attic before an interior leak becomes obvious.
Document What You Find and Know When to Call a Professional
Good documentation makes it easier to track changes, explain concerns to a roofer, and support an insurance claim if one becomes necessary.
Create a simple record that includes:
- Dated photos of the roof, gutters, debris, and visible damage
- Photos of attic moisture, ceiling stains, or indoor leaks
- Notes about where each concern appears
- The date of the storm and when you first noticed the issue
- Any changes during snowmelt, rain, or additional wind
Contact a qualified roofing professional when you see visible damage, suspect a leak, cannot safely view a potentially damaged area, or are unsure whether a change is significant. A professional can inspect inaccessible areas and determine whether repair is needed.
If you may file an insurance claim, preserve your photos and notes. Follow your insurer's specific claim, documentation, and emergency-repair instructions before authorizing permanent work. Policy requirements and coverage can vary by carrier and policy.
A Safer Way to Catch Problems Early
A careful ground-level and indoor inspection can reveal many important warning signs after winter weather without exposing you to the dangers of climbing onto a storm-damaged roof. Check once conditions are safe, look for changes around roof edges and vulnerable features, and inspect the attic and upper rooms for moisture.
When you find active leaking, major visible damage, sagging, electrical hazards, or anything you cannot assess safely, professional evaluation is the safer next step.